
Step-by-Step Guide to Fertilizing Orchids: Essential Tips for Healthy Indoor Plants.
Step-by-Step Guide to Fertilising Orchids.
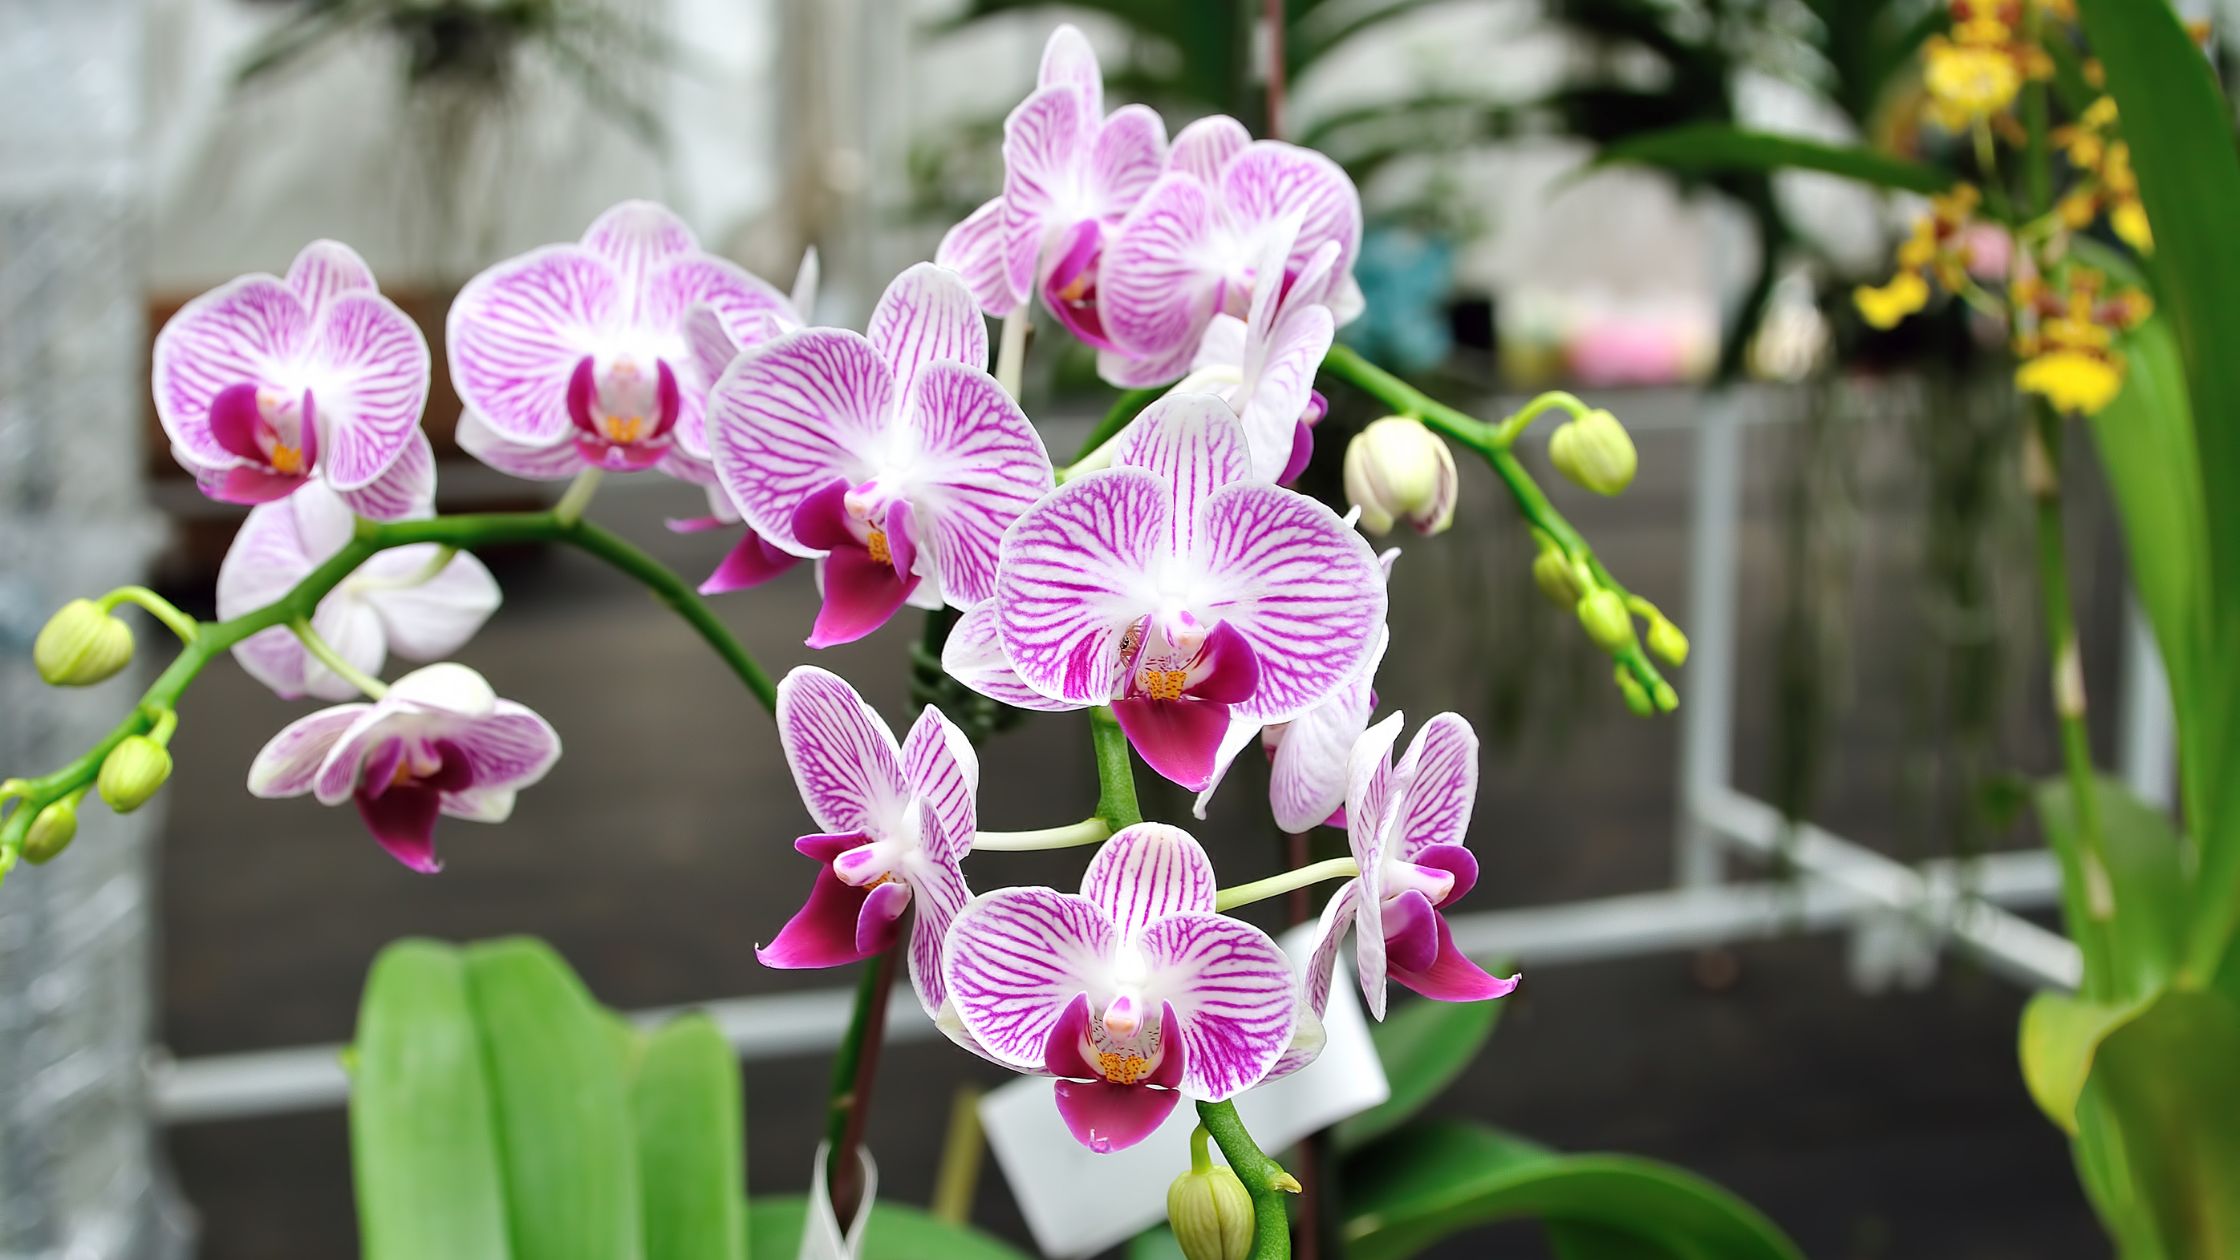
Fertilising orchids is a crucial aspect of maintaining these beautiful and exotic plants. While their vibrant blooms and unique shapes make them desirable additions to any indoor garden, understanding their specific nutritional needs is essential for their thriving. This guide will explore the nutritional requirements for orchids, the best types of fertilisers to use, and step-by-step instructions on how to fertilise your orchids effectively. Additionally, we will discuss special considerations for various orchid varieties and highlight common mistakes to avoid, ensuring that your orchids flourish.
Understanding Orchid Nutritional Needs.
Types of Nutrients Required
Orchids, like all plants, require a variety of nutrients for healthy growth and bloom production. These nutrients can be categorised into macronutrients and micronutrients. The macronutrients include nitrogen (N), phosphorus (P), and potassium (K)—often referred to as N-P-K. Nitrogen is vital for vegetative growth; phosphorus supports flower and root development; and potassium enhances overall plant health and resilience.
In addition to macronutrients, orchids need micronutrients such as calcium, magnesium, sulfur, iron, and trace elements. While these are required in smaller quantities, they play pivotal roles in the plant’s biological functions, including enzyme production, chlorophyll synthesis, and overall metabolic processes. A balanced approach to fertilisation will ensure that your orchids receive all necessary nutrients for optimal growth.
Signs of Nutritional Deficiencies
Recognising signs of nutritional deficiencies is essential in maintaining healthy orchids. A lack of nitrogen can result in yellowing leaves, especially older ones, while phosphorus deficiency may cause stunted growth and delayed flowering. Potassium deficiency can lead to browning leaf edges and decreased resilience against pests and diseases.
Micronutrient deficiencies often present more subtle symptoms. For instance, magnesium deficiency can cause interveinal chlorosis, where the areas between leaf veins turn yellow, while iron deficiency is characterised by yellowing leaves with green veins. By closely monitoring your orchids, you can address these deficiencies through proper fertilisation.
Choosing the Right Fertiliser
Types of Orchid Fertilisers
When selecting fertilizer for orchids, it’s important to consider the type that best suits your plants. Fertilisers are generally available in three forms: liquid, granular, and slow-release. Liquid fertilisers are popular for their immediate availability; they can be diluted in water and applied directly to the soil. Granular fertilisers require a longer time to break down but provide consistent feeding over time.
Slow-release fertilisers, often in pellet form, release nutrients gradually, reducing the risk of over-fertilisation. Many orchid enthusiasts prefer balanced fertilisers with an N-P-K ratio of 30-10-10 or similar, as these provide adequate nitrogen while still supporting blooming. Specially formulated orchid fertilisers can also be beneficial, as they are designed to meet the unique needs of these plants.
Reading Fertiliser Labels
Understanding fertiliser labels is essential for effective application. The N-P-K ratio on the label indicates the percentage of each macronutrient present. It’s important to choose a fertiliser that aligns with the growth stage of your orchid. During the growing season, a higher nitrogen content can support lush foliage, while during the budding phase, a fertiliser richer in phosphorus can promote flower development.
Additionally, check for the presence of micronutrients on the label. Products that list chelated micronutrients are often more effective, as chelation helps prevent nutrient lockout, allowing plants to absorb essential minerals more readily. Being informed about the fertiliser you select ensures that you are giving your orchids the best possible care.
Preparing to Fertilise Your Orchids.
Gathering Necessary Tools and Materials
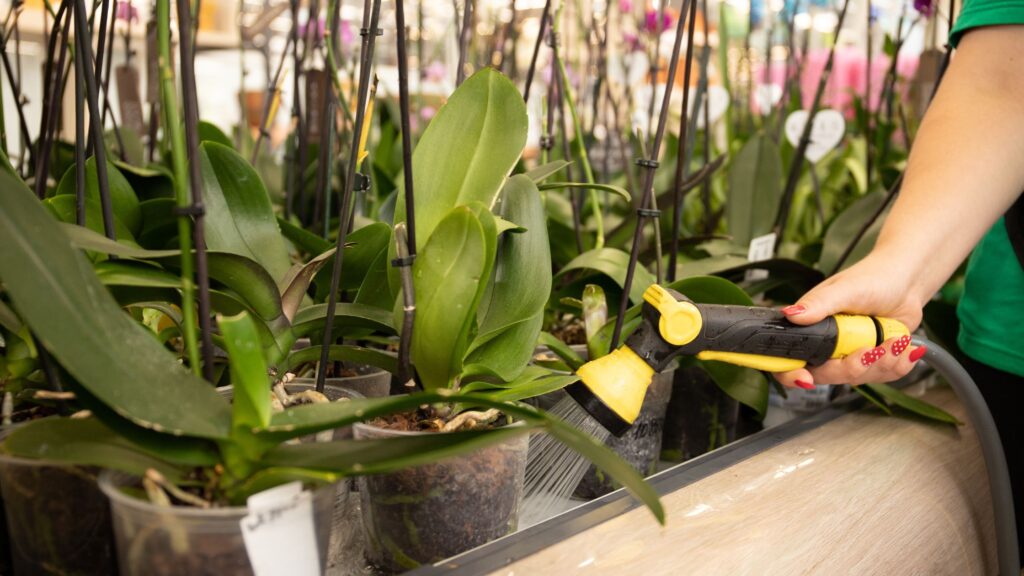
Before you begin the fertilisation process, it’s crucial to gather all necessary tools and materials. You will need the fertiliser of your choice, a measuring device for dilution, clean water (preferably rainwater or distilled water), and a watering can or spray bottle for application. If you are using granular fertiliser, a scoop or measuring spoon will also be helpful. Having these items ready will streamline the fertilisation process.
Additionally, it’s advisable to wear gloves when handling fertilisers, particularly if you have sensitive skin. Ensuring that your tools are clean will help prevent any contamination that could harm your orchids. Taking these precautions will set you up for a successful fertilisation session.
Assessing Your Orchid’s Health
Before applying fertiliser, it’s essential to evaluate the overall health of your orchids. Check for any signs of stress, such as wilting, discolouration, or pests. Addressing these issues before fertilising will ensure that your plants can effectively absorb the nutrients being provided. If your orchids are in distress, fertilisation may not yield the desired results and can sometimes exacerbate the problem.
Additionally, consider the potting medium and root system of your orchids. If the medium is compacted or the roots are rotting, it may be necessary to repot your orchids before fertilisation. Healthy roots are vital for nutrient uptake, and ensuring that your plants are well-cared for before applying fertiliser will lead to more successful outcomes.
Step-by-Step Fertilisation Process.

Mixing Fertiliser Solutions
Once you have prepared and assessed your orchids, the next step is to mix your fertiliser solution. For liquid fertilisers, follow the manufacturer’s instructions for dilution, usually involving mixing a specific amount of fertiliser with a specified volume of water. It’s vital to avoid over-concentration, as this can lead to root burn and damage your orchids.
For granular fertilisers, sprinkle the recommended amount evenly over the potting medium, and make sure to water your orchids thoroughly afterwards. This helps dissolve the granules and allows nutrients to penetrate the soil. Proper mixing and application are essential for ensuring that your orchids receive the nutrients they need without risking harm.
Applying Fertiliser to Your Orchids
There are different methods to apply fertiliser, depending on the type used. For liquid fertilisers, apply the solution directly to the potting medium, ensuring that it reaches the roots. Avoid getting the solution on the leaves, as this can lead to burning. For slow-release or granular fertilisers, ensure even distribution over the surface of the potting medium and water thoroughly afterwards to activate the nutrients.
Timing is also crucial during the application. Ideally, fertilise your orchids during their active growth phase, which varies depending on the species. Most orchids benefit from fertilisation every two weeks during the growing season and may require less frequent feeding during the dormant phase. Understanding your orchid’s lifecycle will help you optimise your fertilisation schedule.
Timing and Frequency of Fertilisation
The timing and frequency of fertilisation play a significant role in the healthy growth of orchids. Generally, during the growing season, most orchids will benefit from a balanced fertiliser every two weeks. This provides a consistent supply of nutrients, promoting robust growth and flowering.
As the season changes and your orchids enter their dormant phase, typically in late fall and winter, you can reduce the frequency to once a month or even stop fertilising altogether, depending on the specific needs of your orchid variety. This approach allows the plants to rest and recuperate, ensuring that they are ready to thrive when the growing season resumes.
Special Considerations for Different Orchid Varieties
Phalaenopsis Orchids
Phalaenopsis orchids, commonly known as moth orchids, are among the most popular for indoor gardens. They thrive in well-draining media and benefit from a balanced fertiliser during their growing phase. An N-P-K ratio of 30-10-10 is often recommended, especially during the blooming period, to support flower production.
These orchids typically bloom once or twice a year, and applying fertiliser every two weeks during their active growth phase will help promote healthy blooms. However, be mindful of the amount, as over-fertilising can lead to leaf burn and a decline in health.
Cattleya Orchids
Cattleya orchids are prized for their large, fragrant flowers. They require a bit more care when it comes to fertilisation. During the active growth phase, a high-nitrogen fertiliser can help produce lush foliage, while a shift to a higher phosphorus formula during the blooming period is essential for robust flower development.
Apply fertiliser every two weeks during the growing season, and reduce to once a month during dormancy. As with other orchids, ensure that the potting medium is moist before fertilising to prevent root burn.
Dendrobium Orchids
Dendrobium orchids are diverse, with different species having unique care requirements. Generally, these orchids benefit from a balanced fertiliser during their active growth phase. However, some varieties prefer a higher nitrogen content to support vegetative growth, especially in the early stages of development.
During the blooming phase, switching to a fertiliser higher in phosphorus can promote flower growth. Fertilising every two weeks during growth and adjusting as needed based on the specific type of Dendrobium will help ensure successful blooms.
Common Mistakes to Avoid.

Over-Fertilizing
One of the most common mistakes in orchid care is over-fertilising. Many gardeners assume that more fertiliser will equate to healthier plants, but this is not the case. Over-fertilisation can lead to salt buildup in the potting medium, which can harm the roots and cause leaf burn. Signs of over-fertilisation include yellowing leaves, necrotic tips, and poor overall plant health.
To avoid this mistake, always follow the manufacturer’s instructions regarding dosage and frequency. If you suspect over-fertilisation, consider flushing the potting medium with water to remove excess salts and nutrients.
Using the Wrong Fertiliser
Using fertilisers not designed for orchids can lead to poor growth and health. Many general-purpose fertilisers contain high levels of certain nutrients that orchids may not require, which can cause imbalances. It is essential to select fertilisers specifically formulated for orchids, as these are tailored to meet their unique nutritional needs.
Before applying any fertiliser, always read the label and ensure it contains the appropriate N-P-K ratio and micronutrients suitable for the specific orchid variety you are caring for. A little research can go a long way in providing the right care for your plants.
FAQs
1. How often should I fertilise my orchids?
Most orchids benefit from fertilisation every two weeks during their active growing season and less frequently during dormancy.
2. What type of fertiliser is best for orchids?
A balanced orchid fertiliser with an N-P-K ratio of around 30-10-10 is often recommended. Specially formulated orchid fertilisers are also a great option.
3. Can I use regular plant fertiliser on my orchids?
It is best to use fertilisers specifically designed for orchids, as they contain the appropriate nutrient ratios for these plants.
4. What are the signs of over-fertilisation in orchids?
Signs include yellowing leaves, burnt leaf tips, and a general decline in plant health. If you notice these symptoms, consider flushing the medium with water.
5. How can I tell if my orchids are nutrient-deficient?
Look for symptoms such as yellowing leaves, stunted growth, or poor flowering, which can indicate nutrient deficiencies.
Conclusion
Fertilising orchids is a fundamental practice that can significantly enhance their health and blooming potential. By understanding the nutritional needs of your orchids, choosing the right fertilisers, and applying them at the appropriate times, you can create an optimal environment for these beautiful plants to thrive. Remember to assess your orchids’ health regularly and avoid common pitfalls such as over-fertilising and using the wrong products.
With the right approach to fertilisation, you can enjoy the stunning beauty of orchids in your home, enriching your indoor garden experience. As you embark on this journey of orchid care, remember that patience and observation are key to fostering these exquisite plants.


