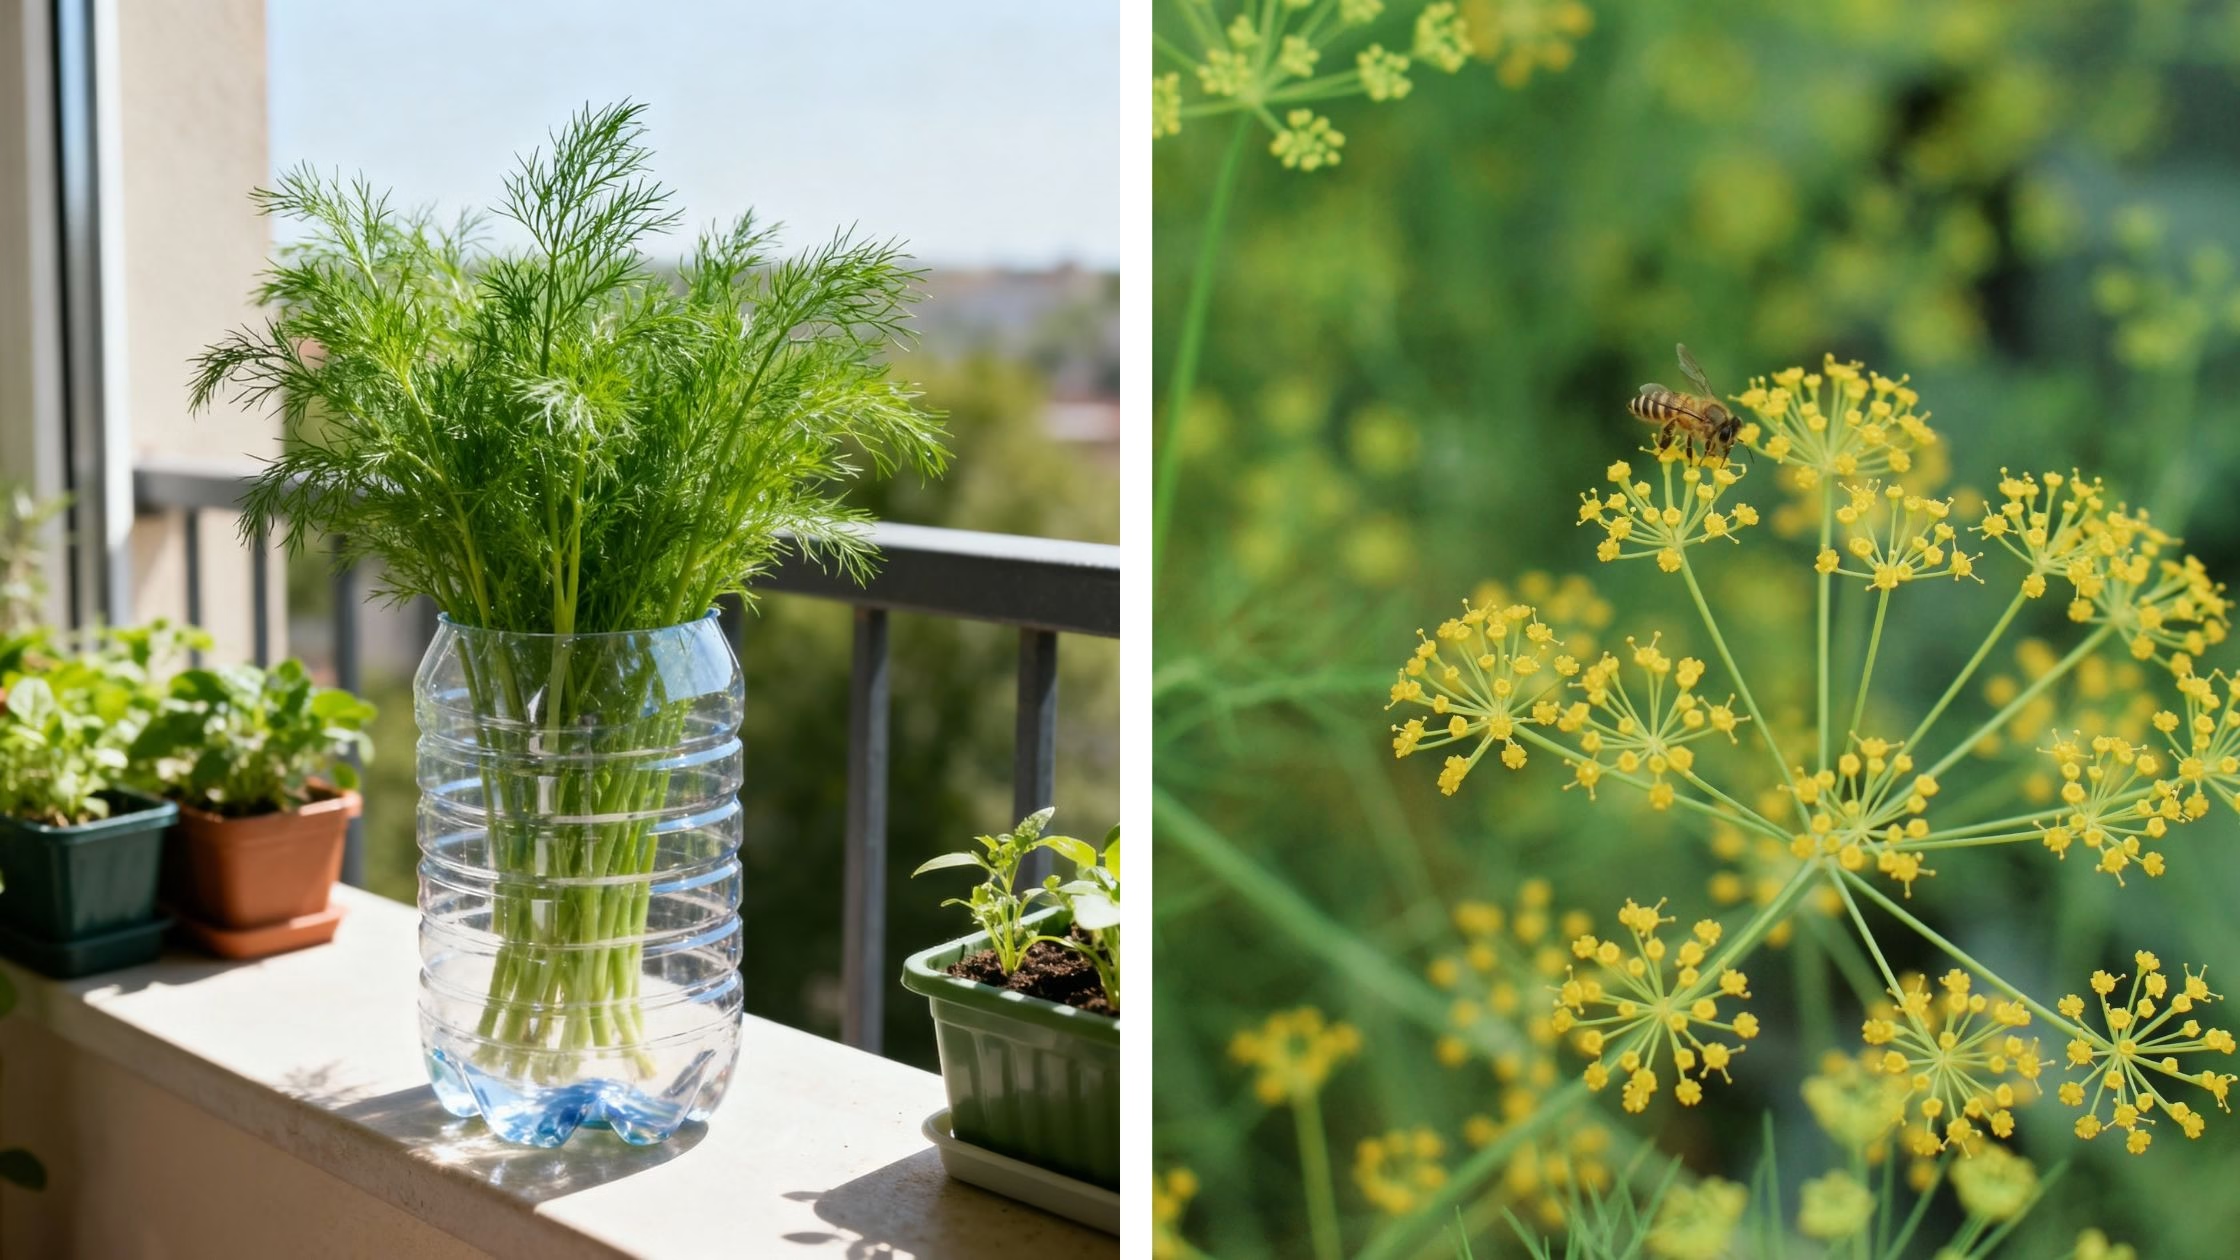
Dill (Anethum graveolens) is a fragrant annual herb from the celery family (Apiaceae), recognized by its tall, slender stems and feathery, blue-green leaves. Both the leaves, often referred to as “dill weed,” and the seeds are used in kitchens worldwide, particularly in European, Scandinavian, and Asian cuisines. This is more than just a gardening hack; it’s a small act of sustainable creativity. It’s about seeing potential where others see trash. So, let’s embark on this little adventure together. I’ll walk you through how to grow dill in plastic bottles, turning a simple project into a source of fresh herbs and quiet satisfaction.
Table of Contents
Also follow How to Grow Cilantro in Plastic Bottles: A Simple, Eco-Friendly Guide
Getting the Materials for Grow Dill in Plastic Bottles
The beauty of this project is its simplicity. You don’t need a long, intimidating list of materials. Think of it as assembling a small, dedicated team for a fun mission.
- A 2-Liter Plastic Bottle: This is your star player. A clear 2-liter bottle is perfect because its height can accommodate dill’s long taproot.
- Dill Seeds: For container gardening, some varieties are better than others. Look for a compact or dwarf variety like ‘Fernleaf’, which is perfect for pots and less likely to bolt (flower prematurely).
- Potting Mix: Use a good quality, well-draining potting mix. Dill isn’t a fan of “wet feet,” so soil that lets excess water escape is crucial.
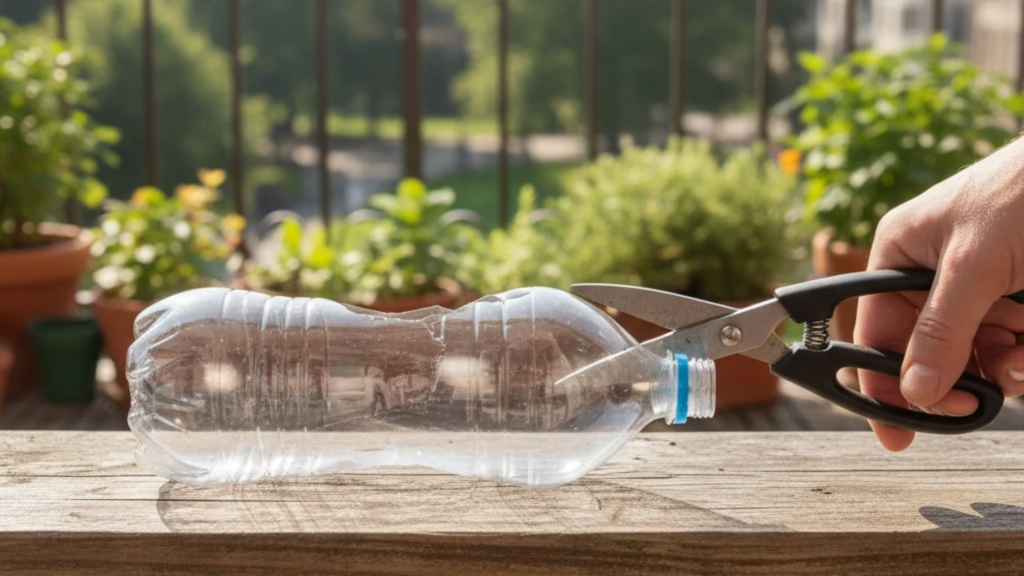
- A Sharp Tool: A pair of sturdy scissors or a craft knife will be needed to carefully modify your bottle.
- Water & Sunshine: The essential supporting actors for any plant story. Dill loves full sun, so find a spot that gets at least 6 to 8 hours of direct light per day.
Prepare the Stage for Your Upcycled Planter
Now for the fun, hands-on part. We’re going to transform that bottle into a cozy home for your future plant. There are two simple ways to do this.
Method 1: The Simple Pot
- Clean Your Bottle: First, give your bottle a thorough wash with soap and water and remove the label.
- Make the Cut: Carefully cut the bottle in half. You can use the bottom half as your planter.
- Add Drainage: This is the most critical step! Poke several small holes in the bottom of your new pot to allow excess water to drain away. Dill hates soggy soil, and this will keep its roots healthy.
Method 2: The Self-Watering Planter
This version is a personal favorite—it’s a clever bit of engineering that helps keep your soil perfectly moist.
- Cut the Bottle: Cut your bottle about two-thirds of the way up from the bottom.
- Prepare the Top: Take the top cone-shaped piece and unscrew the cap.
- Create a Wick: Thread a piece of cotton string or a strip of fabric through the bottle’s opening, leaving tails on both sides. This wick will pull water up from the reservoir into the soil.
- Assemble: Invert the top piece and nestle it into the bottom piece, like a funnel. The bottom will now act as a water reservoir.
The Main Event: Ready for Planting Your Dill !!!!
With your planter ready, it’s time to bring in the dill. Dill doesn’t like having its roots disturbed, so it’s best to sow the seeds directly where they will grow.
- Fill with Soil: Add your well-draining potting mix to the planter, leaving about an inch of space at the top.
- Sow the Seeds: Sprinkle a few dill seeds on the surface of the soil. You don’t need to bury them deep; a light covering of about ¼ inch of soil is perfect.
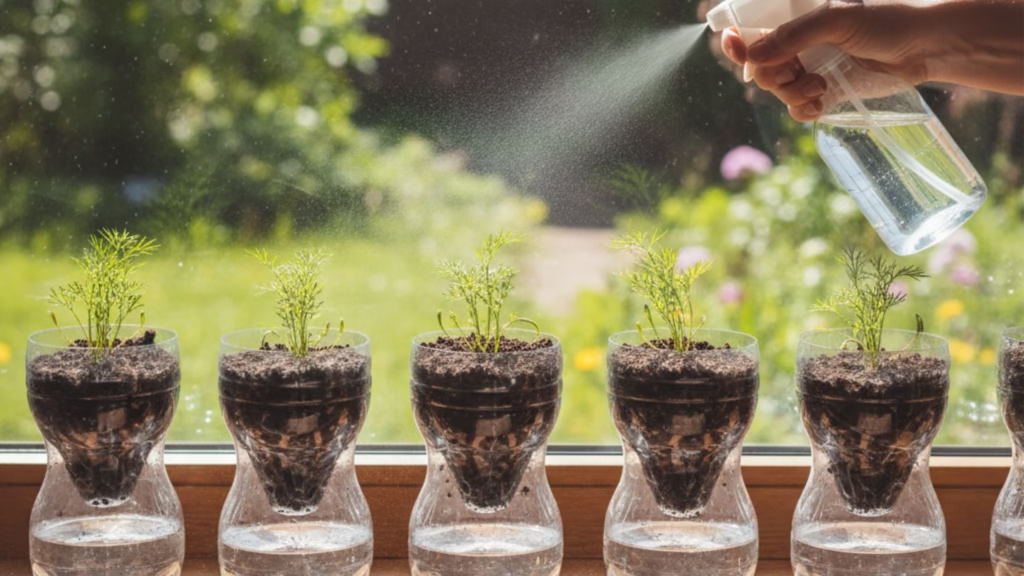
- Water Gently: Give the seeds their first drink. Keep the soil consistently moist but not waterlogged while you wait for them to sprout. Misting with a spray bottle is a great way to do this without dislodging the seeds.
- Be Patient: Place your bottle in a warm, sunny spot. In about 10 to 14 days, you should see tiny green shoots emerge from the soil. It’s a thrilling moment!
The Growing Season: A Little Care Makes a Big Difference
Your dill is alive! Now, your job is to be its caretaker. Luckily, dill is a low-maintenance herb.
- Watering: Water whenever the top inch of soil feels dry to the touch. If you made the self-watering planter, simply keep the bottom reservoir filled.
- Sunlight: Continue to give it at least six hours of sun. If you’re growing it indoors on a windowsill, rotate the bottle every few days so the plant grows evenly instead of leaning toward the light.
- Thinning: Once your seedlings are a few inches tall, choose the strongest-looking one and snip the others at the soil line. This gives the remaining plant plenty of room to flourish.
- Feeding: Dill doesn’t require much fertilizer, especially if you started with nutrient-rich soil. If you feel it needs a boost, a light feeding with a balanced liquid fertilizer every 4-6 weeks is plenty.
The Delicious Finale: Harvesting Your Homegrown Dill
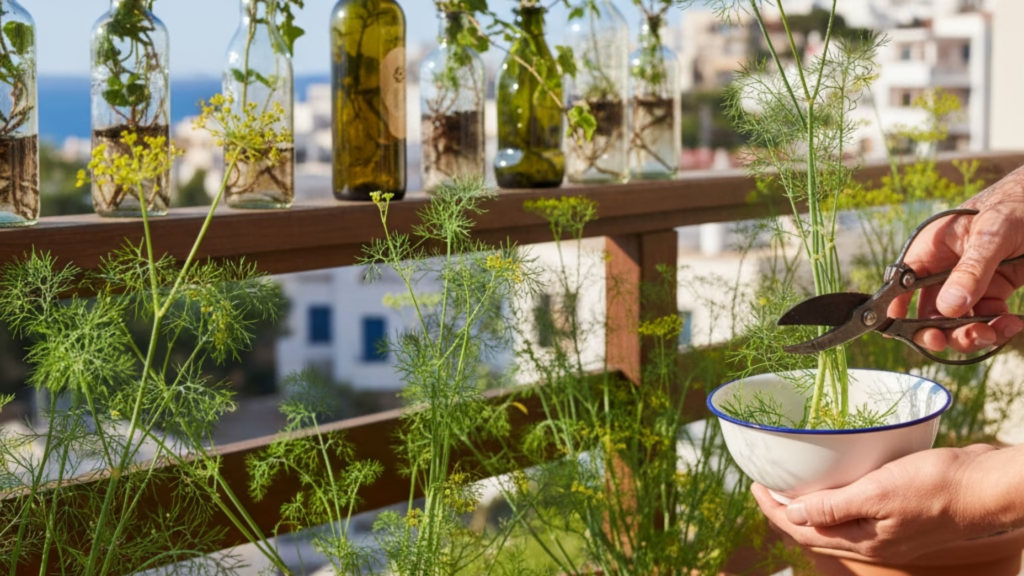
In about 8 weeks, you can start harvesting. This is the reward for your patience. Snip the feathery leaves as you need them. In fact, regular harvesting encourages the plant to become bushier and produce more leaves.
Use your fresh dill to liven up salads, fish dishes, or homemade pickles. The flavor of something you’ve grown yourself is unparalleled. Each bite is a reminder of that sunny spot in your home and the simple plastic bottle that started it all.
Also read How to Grow Dill in Recycled Plastic Baskets: A Step-by-Step Guide for Home Gardeners