

How to grow dahlias in the garden, a beginner’s guide!
Dahlias are a fantastic addition to any garden, known for their stunning variety of colours, shapes, and sizes.
If you’re a beginner, don’t be intimidated! Growing dahlias is surprisingly straightforward. You can now follow our guide that will help you grow beautiful dahlias in your garden.
Step 1: Choosing Your Dahlias
Before you even dig a hole, you need to decide which dahlias you want to grow. They are typically sold as tubers (the root system) or as young plants.
- Tubers: These are more common and offer a wider variety of options. They look like small, brown potatoes with an “eye” or a sprouting point. Look for firm, healthy-looking tubers.
- Plants: You can also buy young dahlia plants from a nursery, which is an excellent option if you want to get a head start.
When choosing, consider the different types of dahlias:
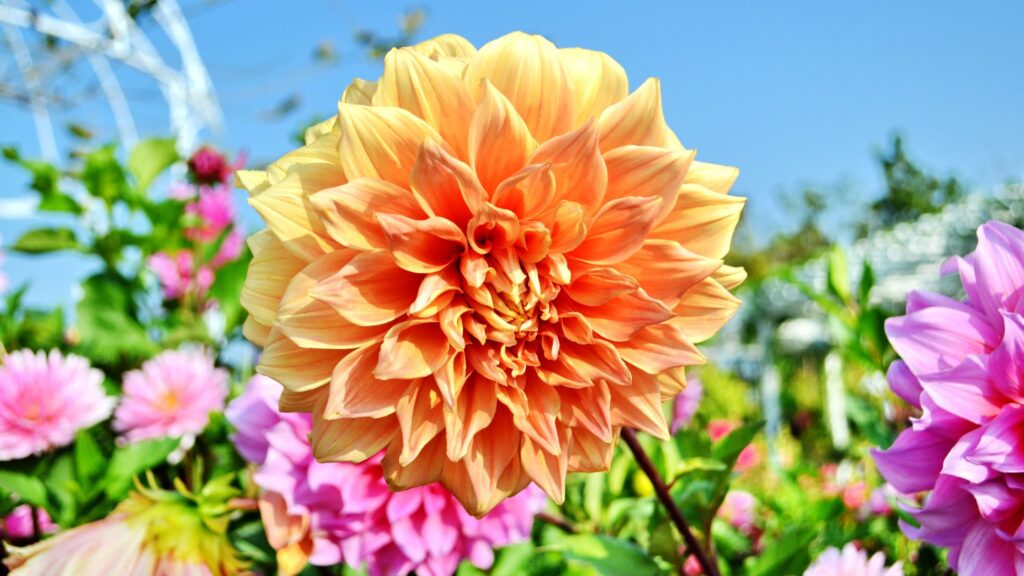
- Dinnerplate Dahlias: Large, impressive blooms.
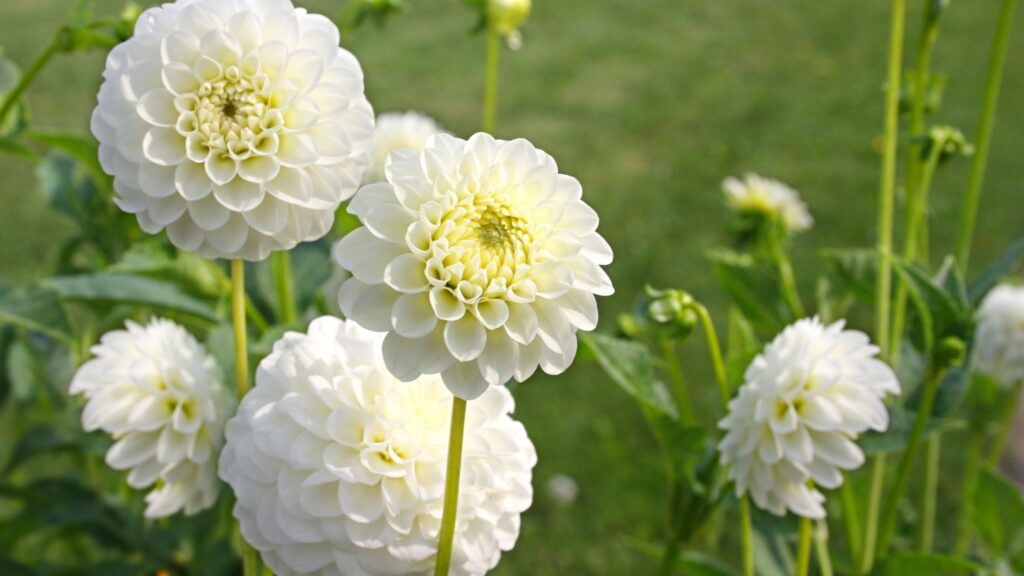
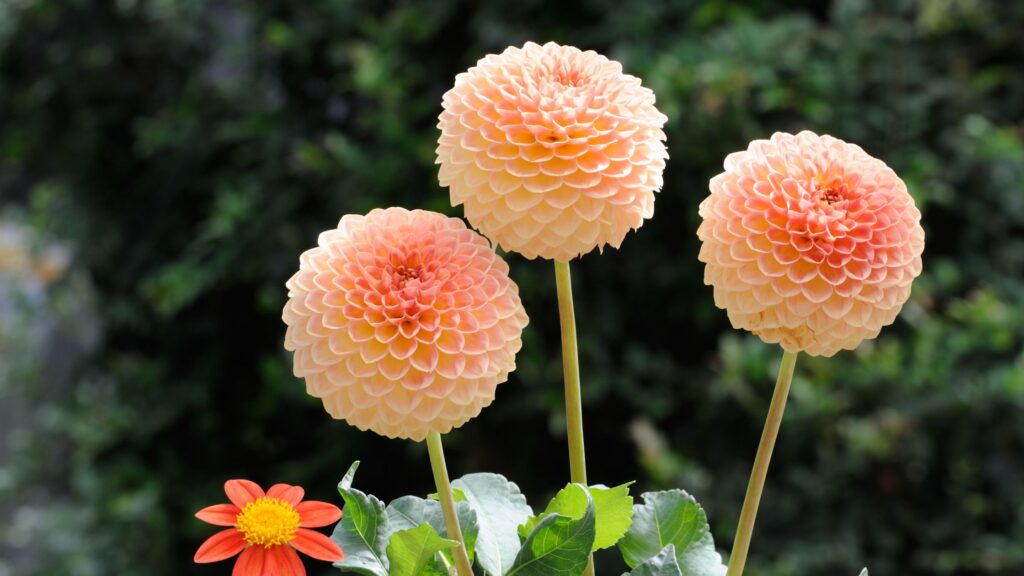
- Ball & Pompon Dahlias: Small, spherical flowers.
- Cactus & Semi-Cactus Dahlias: Spiky, rolled petals.
- Decorative Dahlias: Classic, full-petaled flowers.
- Collerette & Anemone Dahlias: Unique, featuring a central disc surrounded by a ring of shorter petals.
Step 2: Timing is Everything
Dahlias are not frost-tolerant, so timing is crucial. The best time to plant is after the last expected frost in your area, when the soil has started to warm up.
- In temperate climates, this typically occurs in late spring (April to June).
- In warmer climates, you can plant earlier in the spring.
Step 3: Preparing the Planting Site
Dahlias love a sunny spot. They need at least 6-8 hours of direct sunlight per day to produce abundant blooms.
- Location: Ensure the location in your garden receives direct sunlight.
- Soil: Dahlias are better suited to grow in well-drained, fertile soil. If your soil is heavy clay, you can improve drainage by mixing in compost, sand, or well-rotted manure.
- Soil pH: Dahlias prefer a slightly acidic to neutral pH (6.5-7.0).
Step 4: Planting Your Tubers
Tubers need to be planted in suitable Pots and the guide you need to follow.
- Dig a hole: Dig a hole about 4-6 inches deep in the pots, and wide enough to accommodate the tuber.
- Position the tuber: Lay the tuber horizontally in the hole with the sprout placed upwards.
- Support: Taller dahlias will need staking to prevent their heavy blooms from snapping the stems. It’s best to place the stake in the ground before you plant the tuber to avoid damaging it later.
- Cover with soil: Gently cover the tuber with soil, but don’t pack it down too hard. Leave the area a bit loose.
- Spacing: Space your dahlias about 18-36 inches apart, depending on the variety’s mature size. Check the plant tag for specific recommendations.
Step 5: Watering and Feeding
- Initial Watering: Do not water the newly planted tuber immediately after planting. Watering can cause the tuber to rot. Wait until the first green shoots appear above the soil, which can take several weeks.
- Regular Watering: Once the plant is growing, water deeply once or twice a week, especially during dry spells. Avoid overhead watering, which can encourage fungal diseases. Water the soil around the base of the plant.
- Feeding: Dahlias are heavy feeders. You can apply a low-nitrogen fertiliser (e.g., 5-10-10) every 3-4 weeks once the plant is established. Too much nitrogen will result in lush foliage but fewer blooms.
Step 6: Pinching and Deadheading
These two techniques are essential for getting the most out of your dahlias.
- Pinching: When the plant is about 12 inches tall and has 3-4 sets of leaves, pinch off the top growing tip. This encourages the plant to branch out, resulting in a bushier plant with more flowers.
- Deadheading: As flowers fade, pinch or snip them off to encourage new growth. This directs the plant’s energy into producing new blooms rather than setting seeds.
Step 7: Pests and Diseases
Dahlias are generally resilient, but keep an eye out for:
- Slugs and Snails: They love young dahlia shoots. Use slug bait or other deterrents.
- Earwigs: They can chew on the petals.
- Powdery Mildew: A fungal disease that appears as a white, powdery coating on leaves. Ensure good air circulation and water the soil, not the leaves.
Step 8: Winter Care (Lifting Tubers)
In colder climates, you must lift your dahlia tubers and store them for the winter. In warmer climates (Zones 8 and above), you can often leave them in the ground with a thick layer of mulch.
- When to Lift: After the first hard frost, the foliage will turn black and wilt. This is your cue.
- How to Lift: Carefully dig up the entire plant, leaving the clump of tubers intact. Cut the stem back to about 4-6 inches above the tubers.
- Drying and Storing: Gently shake off excess soil. Let the tubers air dry for a few days in a cool, dry place. Store them in a box or mesh bag filled with a medium like peat moss, vermiculite, or wood shavings. Keep them in a dark, cool (40-50°F or 4-10°C) and dry place until spring.
By following these simple steps, you’ll be well on your way to enjoying a spectacular display of dahlias in your garden, a reward that is well worth the effort. Happy gardening!