How to Grow Pears That Will Make You Need a Bib
Let’s be real for a second. Have you ever bought a pear from the grocery store, all hopeful, only to bite into a sad, mealy brick? It’s a tragedy. That pear has traveled hundreds of miles, been picked rock-hard, and has forgotten what sunshine even feels like.
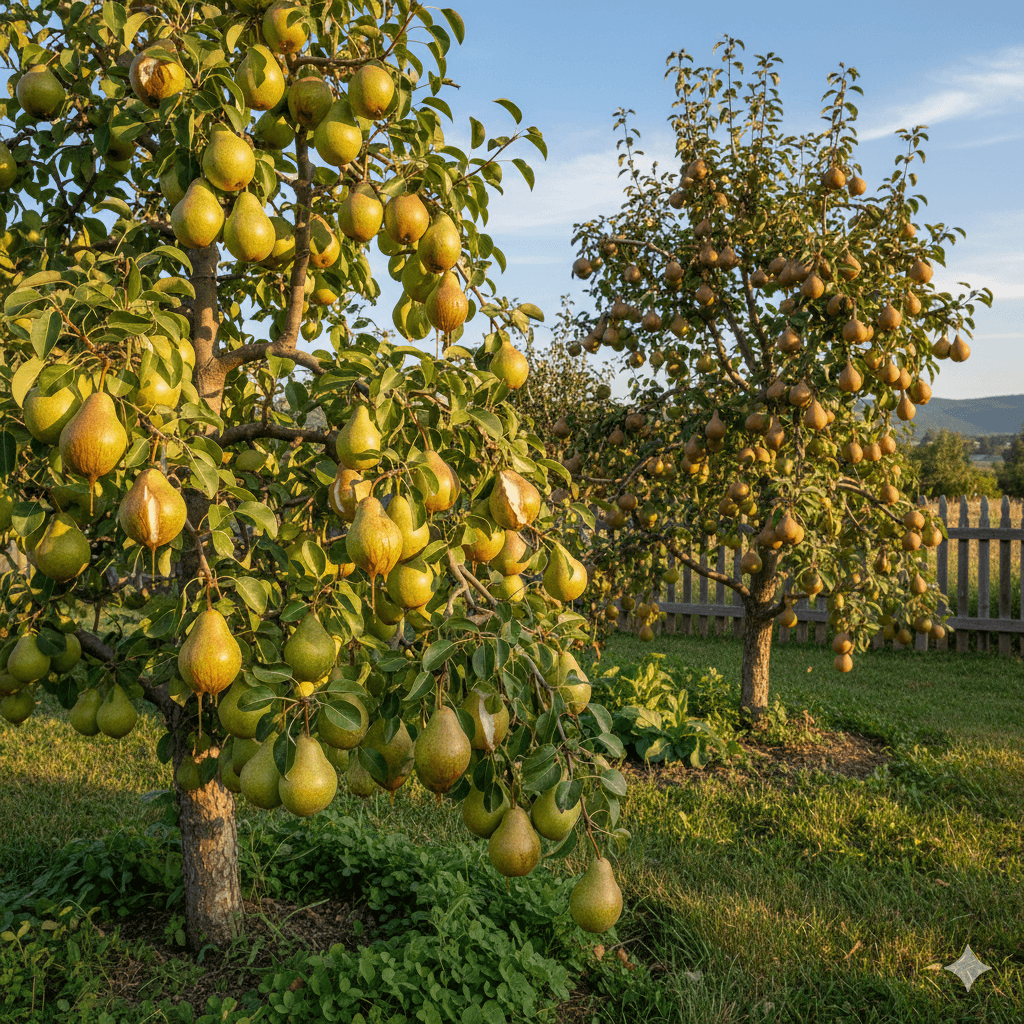
But what if I told you that you could grow pear tree in your own backyard that produces fruit so luscious and dripping with juice, it’s basically a dessert you can pick?
I’m talking about that perfect pear experience—the one where the juice runs down your chin, the flavor is a sweet-tart explosion, and you find yourself grinning like a fool. A few years ago, I planted a little ‘Bartlett’ sapling, thinking, “We’ll see.” Last summer, I picked my first real harvest, and let me tell you, it was a game-changer. That homegrown grow pear made every store-bought one I’ve ever had taste like cardboard.
If you’re ready to ditch the disappointment and grow your own pear, you’re in the right place. Grab your gardening gloves. We’re about to make some magic.
Step 1: Play Matchmaker—Choosing Your Perfect Pear
This is the most important decision you’ll make, so no pressure! Think of it like adopting a pet—you want one that fits your lifestyle and your home (aka, your climate).
The Buttery Classics (European grow Pears): These are your Bartletts, Anjous, and Comice pears. They have that classic, melt-in-your-mouth texture. The trick? You pick them while they’re still firm and let them ripen to perfection on your kitchen counter.
The Crisp & Juicy Crew (Asian Pears): Think of these like the lovechild of an apple and a pear. Varieties like Hosui or Shinseiki are incredibly crisp, round, and explode with juice when you bite them. You eat these right off the tree!
The Buddy System: Most pear trees are a little lonely. They need a different pear variety nearby to pollinate them and produce a good crop. If you only have space for one, look for a self-fertile variety or a tree that has multiple varieties grafted onto one trunk. Your local nursery is your best friend here—they’ll know exactly which “buddies” work best in your area.
Step 2: Location, Location, Location!
Pears aren’t divas, but they do have three non-negotiables:
Sun, and Lots of It: Give them at least 6-8 hours of direct sun a day. Sun is what creates the sugars that make your pears sweet and juicy. A shady pear is a bland pear.
Good Drainage: Pears hate having “wet feet.” Their roots will rot in soggy soil. If you have heavy clay, consider planting in a raised bed or on a slight mound to help water drain away.
Airflow: A little breeze helps keep fungal diseases away. Try not to cram your tree into a tight, stuffy corner.
Step 3: Planting Day! (It’s Easier Than You Think)
Plant your tree in the spring or fall when it’s dormant. Dig a hole that’s twice as wide as the root ball, but no deeper. You want the place where the trunk meets the roots to sit slightly above the soil line.
Backfill the hole with the native soil you dug out (no need for fancy soil mixes!), water it deeply to settle everything in, and spread a nice, thick 3-inch layer of mulch (like wood chips or straw) around the base. Just be sure to leave a little donut-hole of space right around the trunk to keep it dry.
Step 4: The Art of Watering for Juiciness
This is the secret sauce. Deep, consistent watering is the key to plump, juicy fruit.
For the first year, your baby tree is thirsty. Give it a good, deep soak once a week unless you get a ton of rain. Once it’s established, water deeply every couple of weeks during the season for grow pear, especially when you see little fruits starting to form. A slow trickle from a hose for an hour is way better than a quick spray.
Step 5: Pruning—Don’t Be Scared!
I know, taking clippers to your precious tree feels wrong. But pruning is an act of love! It helps the tree focus its energy on making amazing fruit instead of a tangled mess of branches.
In the late winter, while the tree is leafless, trim out any branches that are dead, damaged, or crossing over each other. Your goal is to create an open, vase-like shape that lets sunlight and air reach all the leaves and future fruit. A little snip here and there makes a world of difference.
Step 6: The Sweetest Reward—Harvesting your Grow Pears
So, when is a pear ready? Here’s the trick for those buttery European types:
Gently cup the pear in your hand and tilt it horizontally.
If it separates from the branch easily, it’s ready to pick! If you have to yank it, give it a few more days.
They will still be hard—that’s what you want! Bring them inside and let them sit on the counter for a few days. You’ll know they’re ready to eat when you gently press your thumb near the stem and it gives just a little. That’s the moment of pure, juicy perfection.
Also read Growing Spinach Easily in Your Garden