A Complete Guide to Planting and Growing Spider Plants at Home
Here’s a step-by-step guide to Planting and Growing Spider Plants at Home, caring for, and multiplying spider plants at home.
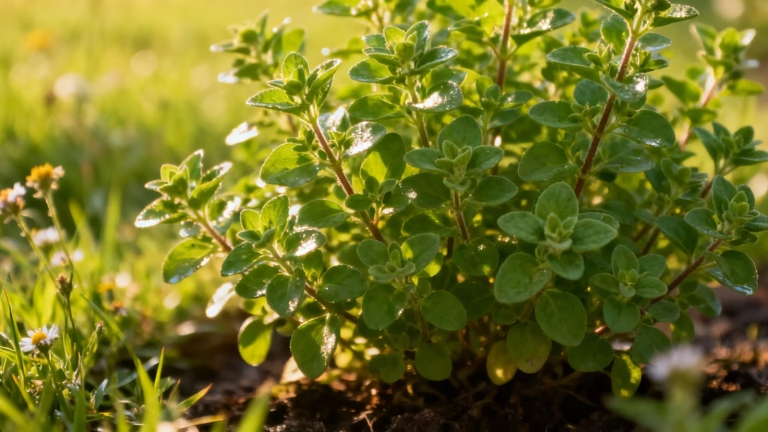
If you’re new to gardening or simply want a low-maintenance plant that brightens up your home, the spider plant (Chlorophytum comosum) is the perfect choice. Known for its graceful, arching leaves and easy-going nature, this plant is a favorite among beginners and experienced gardeners alike. It thrives indoors, purifies the air, and even produces “baby plants” you can grow into new ones.
Step-by-Step Guide to Planting and Growing Spider Plants
Why Choose Spider Plants?
Spider plants are popular for a few good reasons:
- Easy to grow: They tolerate neglect and still look great.
- Air-purifying: NASA studies show they remove toxins like formaldehyde and carbon monoxide from the air.
- Low-maintenance: They don’t need much sunlight or watering.
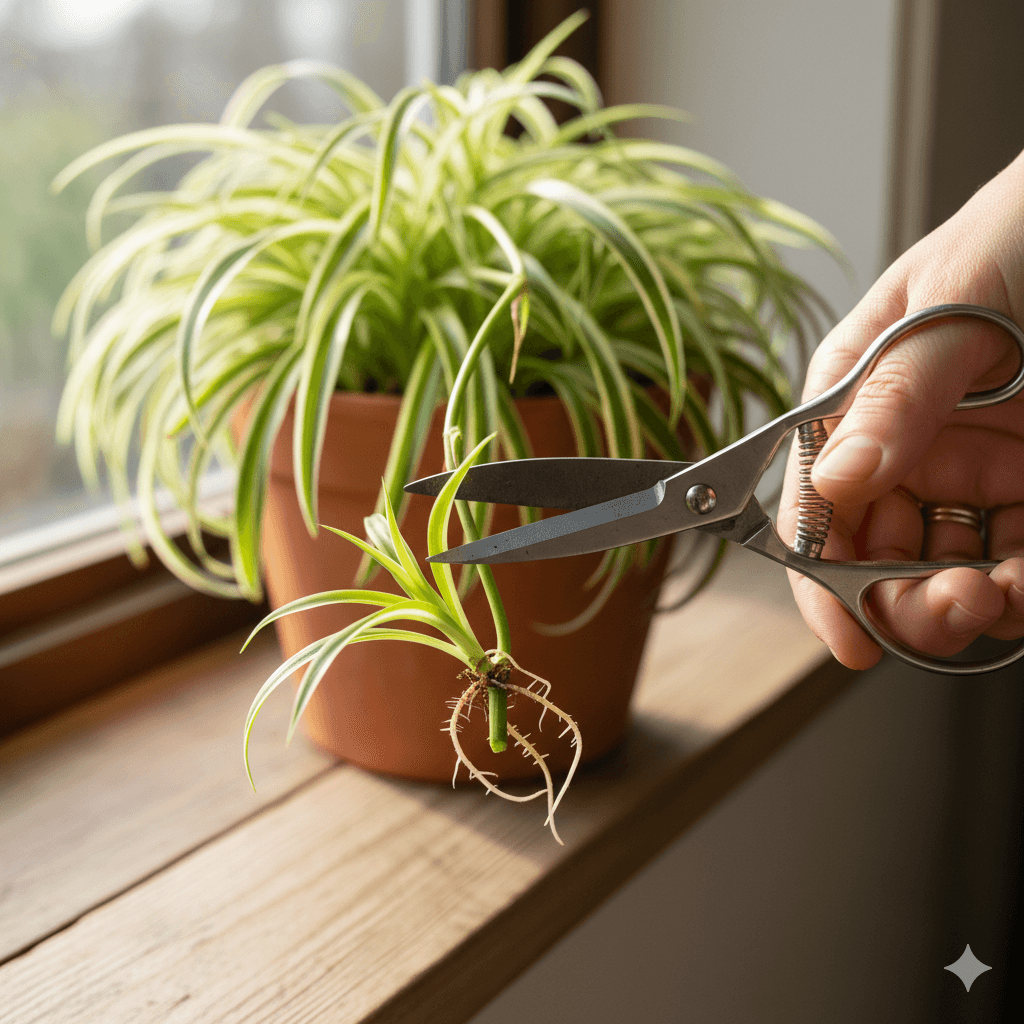
- Propagates easily: They produce “spiderettes” (baby plants) you can grow into new plants.
Whether you keep them on a windowsill, hang them in baskets, or place them on a shelf, spider plants add a fresh, green touch to any space.
1. Choose the Right Spot
Spider plants love bright, indirect light. Too much direct sunlight can scorch their leaves, while too little light can Growing Spider Plants.
Best places to keep them:
- Near an east- or north-facing window.
- In a bright room away from harsh midday sun.
- Outdoors in a shaded balcony or patio.
Temperature tip: Spider plants grow best between 15°C and 27°C. They don’t like extreme cold, so move them indoors during winter.
2. Pick a Good Pot and Soil
Spider plants grow well in almost any container, but make sure the pot has drainage holes to prevent root rot.
Pot size: Start with a 6–8 inch pot. You can move to a bigger one as the plant grows.
Soil: Use a well-draining potting mix. A good mix can be:
- 2 parts garden soil or cocopeat
- 1 part compost or organic manure
- 1 part sand or perlite for drainage
Tip: Spider plants prefer slightly moist but airy soil — avoid heavy, clayey mixes.
3. Planting the Spider Plant

You can Growing Spider Plants from a small nursery plant or by propagating a baby plant (spiderette) from a mature one.
Steps for planting:
- Fill the pot with the prepared soil, leaving about 2 inches from the top.
- Make a small hole in the center.
- Place the plant’s roots gently in the hole and cover them with soil.
- Press lightly and water gently to settle the soil.
Propagation tip: If you’re using a baby spider plant, let it grow small roots while still attached to the mother plant, then cut and plant it in soil.
4. Watering Your Spider Plant
Spider plants like evenly moist soil but don’t tolerate soggy roots.
Watering guide:
- Water once a week or when the top 1–2 inches of soil feels dry.
- In winter, water less frequently (about every 10–14 days).
- Always empty excess water from saucers to avoid root rot.
Tip: Use room-temperature water. Cold water can shock the roots.
5. Feeding and Fertilizing
Spider plants don’t need a lot of fertilizer, but occasional feeding keeps them healthy and vibrant.
- Feed once a month during spring and summer with a balanced liquid fertilizer (diluted to half strength).
- Avoid over-fertilizing — it can cause brown leaf tips.
6. Pruning and Maintenance
Pruning keeps your spider plant looking fresh and encourages new growth.
- Trim off brown or yellow leaves with clean scissors.
- Cut back long stems if the plant gets too large.
- Repot every 1–2 years if roots start growing out of the drainage holes.
Bonus tip: Use the offshoots (spiderettes) to grow new plants. Just cut them and place them in water or soil — they root quickly and easily.
7. Common Problems and Solutions
Even though spider plants are tough, they can face a few minor issues:
- Brown leaf tips: Usually from over-fertilizing, fluoride in tap water, or low humidity. Use filtered water and mist the leaves occasionally.
- Yellowing leaves: Often due to overwatering. Let the soil dry out before watering again.
- Pests (rare): If you see aphids or spider mites, wipe the leaves with a mild neem oil solution.
Also read Step-by-Step Guide to Growing Garlic in Your Garden