Starting a Rice Farm: Everything You Need to Know
Rice is more than just a staple food — it’s a way of life for millions of people around the world. If you’re thinking about starting your own rice farm, whether on a small plot or a larger commercial scale, understanding the basics before you begin can make all the difference. Here’s a practical guide to help you get started.
Table of Contents
Why Rice Farming Matters
Rice feeds more than half of the world’s population and remains one of the most important cereal crops globally. In countries like India, China, and Indonesia, it’s deeply tied to culture, economy, and food security. Beyond that, rice farming can be a rewarding business with steady demand and growing market opportunities.

Step 1: Choose the Right Land and Climate
Rice grows best in warm, humid environments with plenty of water. Ideally, your location should have:
Temperature: 20°C to 35°C
Rainfall: At least 100 cm annually
Soil: Clayey or loamy soil that retains water well
If you’re in an area with less rainfall, you can still grow rice — but you’ll need an irrigation system to manage water supply.
Pro tip: Flat land is ideal because it’s easier to flood and drain, which is essential for paddy cultivation.
Step 2: Select the Right Rice Variety
Not all rice is the same. Choosing the right variety depends on your region, water availability, and market demand. Some common types include:
Short-duration varieties – Harvest in about 100 days (good for quick turnover).
Medium-duration varieties – Take 110-130 days (balanced choice).
Long-duration varieties – Take over 130 days (often higher yields).
Talk to local agricultural departments or seed suppliers to choose varieties that perform well in your area.

Step 3: Land Preparation
Before planting, prepare your field carefully:
Plowing: Loosen the soil to allow better root growth.
Leveling: Helps water distribute evenly across the field.
Fertilizing: Add organic manure or compost to enrich soil fertility.
Proper land preparation sets the foundation for a healthy crop and better yields.
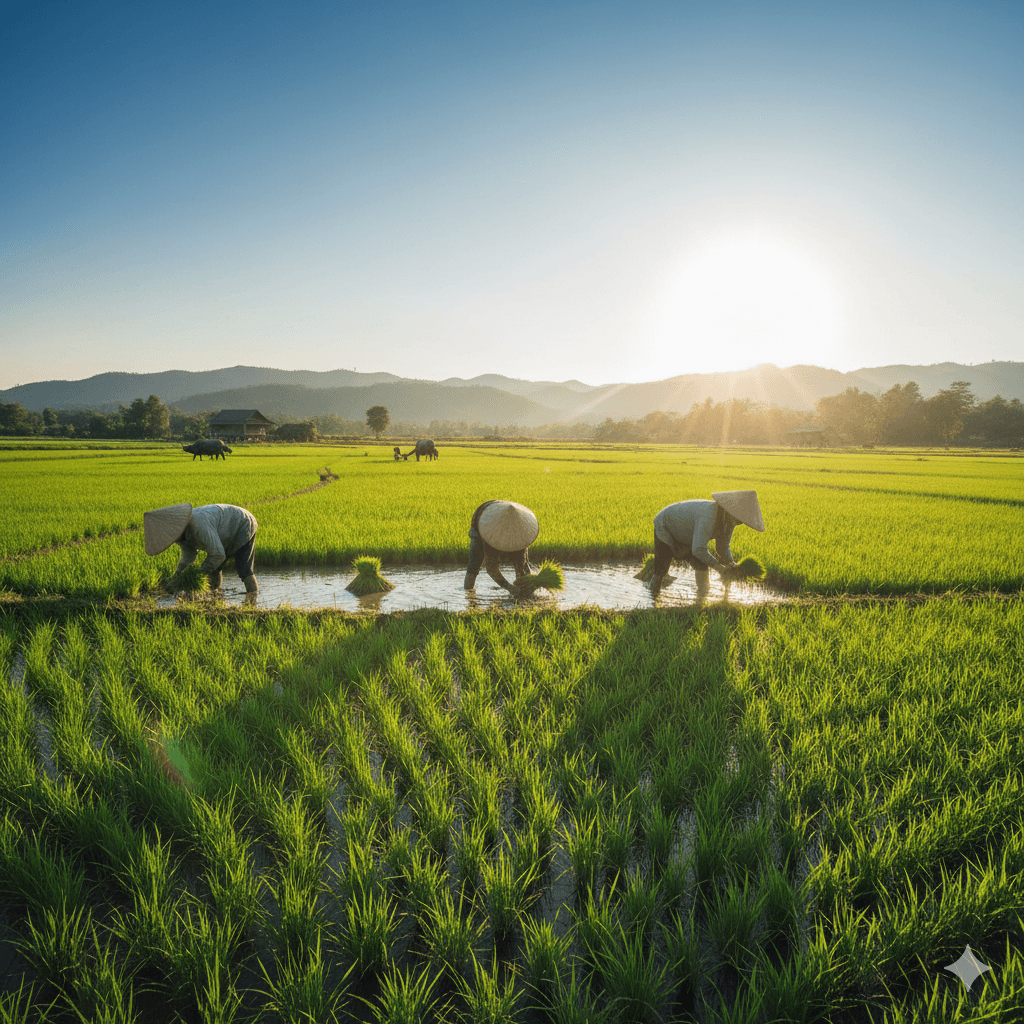
Step 4: Planting the Rice
There are two main ways to plant rice:
Direct Seeding: Seeds are sown directly into the field. It’s faster but needs more weed control.
Transplanting: Seeds are first grown in a nursery, then seedlings are transplanted into the main field after 20–30 days. This method often gives higher yields.
Choose the method that suits your time, labor availability, and resources.
Step 5: Water and Weed Management
Rice is a water-loving plant, but proper water management is essential:
Keep the field flooded during most of the growing season.
Drain water before harvest to help grains mature and dry.
Weed control is equally important. Regular weeding or the use of eco-friendly herbicides can prevent competition for nutrients.
Step 6: Pest and Disease Control
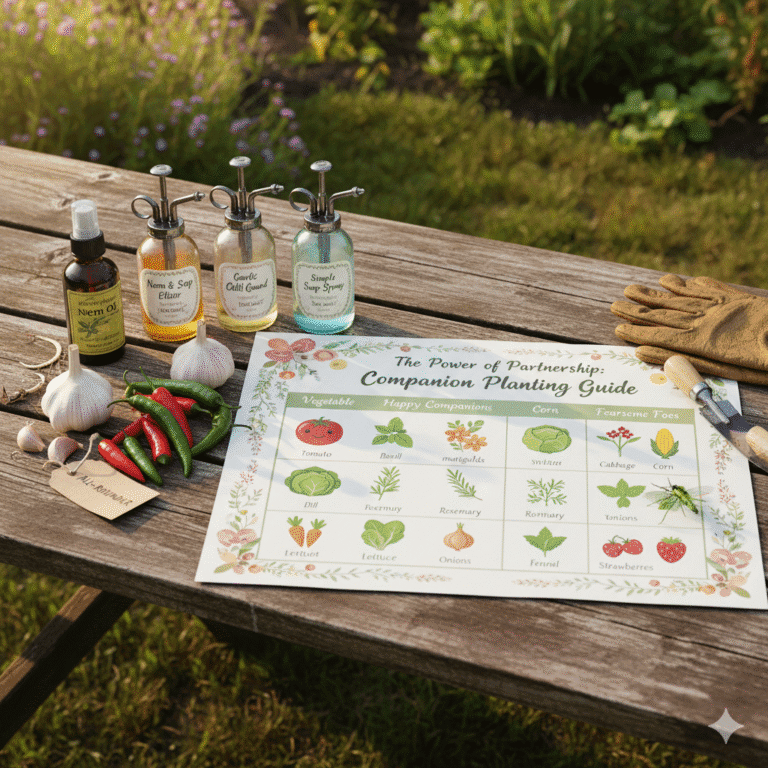
Rice crops can be affected by pests like stem borers and diseases like blast or sheath blight. Regular field monitoring, crop rotation, and natural pest control methods (like neem oil spray) can help keep these problems under control.
Step 7: Harvesting and Post-Harvest Care
Rice is ready to harvest when the grains turn golden and the plants start to droop. Harvesting can be done manually with sickles or using modern harvesters. After harvesting:
Threshing: Separate grains from stalks.
Drying: Reduce moisture to about 14% for safe storage.
Storage: Keep rice in a cool, dry place to prevent spoilage.
Final Tips for Success
Start small: Learn the process on a small scale before expanding.
Stay informed: Join local farming groups or workshops.
Keep records: Track input costs, yield, and sales to improve future planning.