How to Start a Capsicum Garden at Home: A Beginner’s Guide
If you’ve ever dreamed of growing your own vegetables, capsicum (also called bell pepper or shimla mirch) is one of the easiest and most rewarding plants to start with. It’s colorful, packed with vitamins, and thrives even in small spaces like balconies or terraces. With just a little care, you can go from seeds to fresh, crunchy peppers in a few months.
Here’s a simple step-by-step guide to help you start your capsicum garden at home.
1. Choose the Right Variety
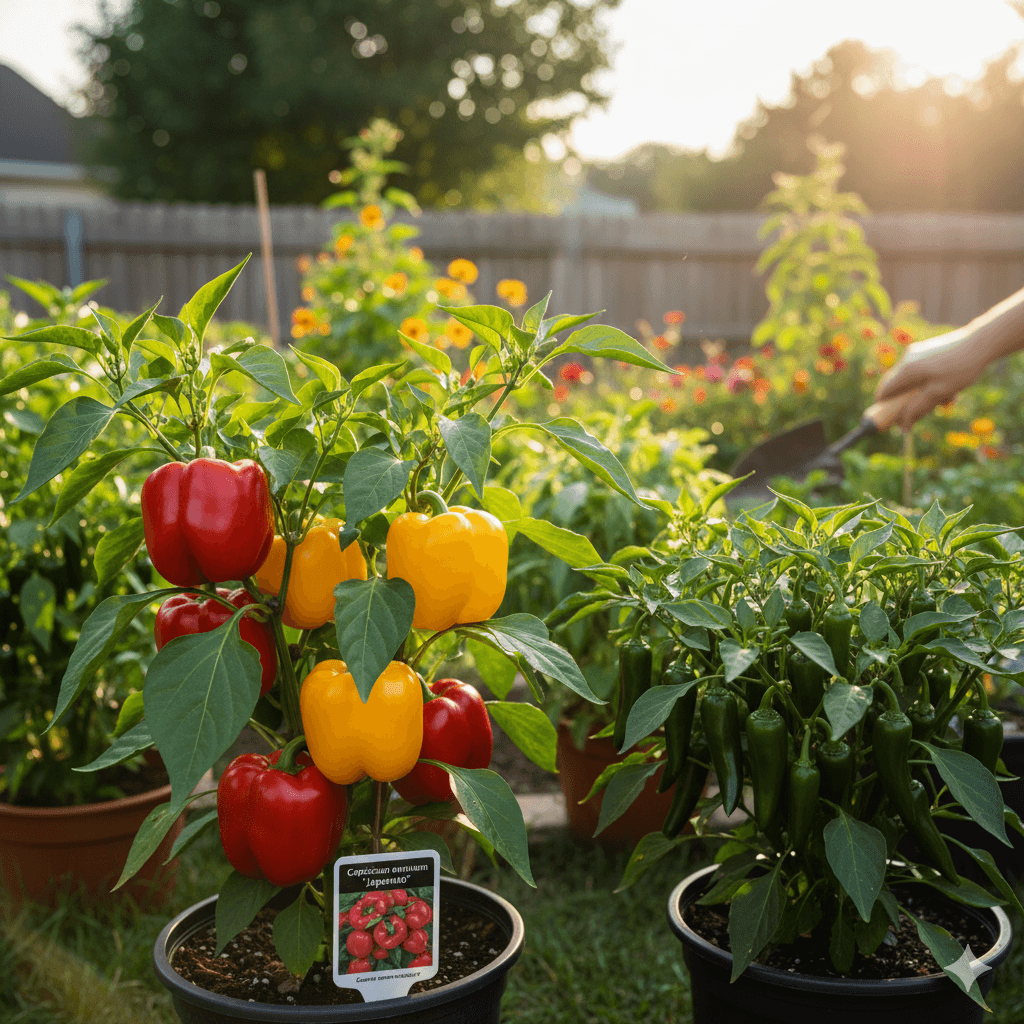
Capsicum comes in different colors — green, red, yellow, and even purple — each with its own flavor and sweetness. For beginners, green varieties are usually the easiest to grow and produce quickly. You can buy seeds from a garden shop or even save them from a ripe store-bought pepper (though seed packets give better results).
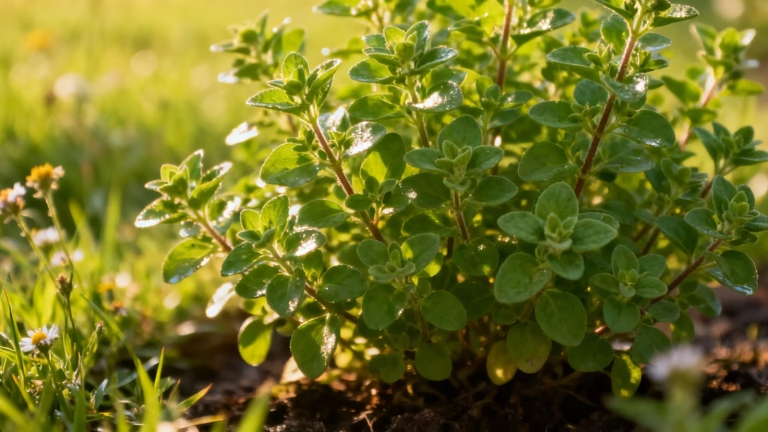
2. Pick a Sunny Spot
Capsicum loves sunlight — at least 5–6 hours a day.
Capsicum plants love sunlight. Choose a spot that gets at least 5–6 hours of direct sun every day — a balcony, terrace, or a sunny windowsill works well. Without enough sunlight, the plants may grow weak and produce fewer peppers.
3. Start Seeds Indoors (Optional but Helpful)
If you’re starting from seeds, plant them indoors first. Use small pots or seed trays filled with light, well-draining potting mix. Sow the seeds about 1 cm deep, water gently, and keep them in a warm, sunny place. They’ll sprout in about 7–14 days.
Once the seedlings are 10–15 cm tall and have a few leaves, they’re ready to move to bigger pots or your garden bed.
4. Prepare the Soil
Capsicum grows best in loose, well-draining soil rich in organic matter. A mix of garden soil, compost, and cocopeat (in a 1:1:1 ratio) is ideal. Good soil helps the roots grow strong and improves your harvest.
If planting in pots, choose containers at least 25–30 cm deep to give roots enough space.
5. Transplant and Water Carefully
Transplant gently to avoid damaging the roots.
When transplanting seedlings, handle them gently to avoid damaging the roots. Water immediately after transplanting to help them settle. After that, water only when the top layer of soil feels dry. Overwatering can cause root rot, so always check the soil first.
6. Feed Your Plants
About 3–4 weeks after transplanting, feed your capsicum plants with organic fertilizer or compost tea every 2–3 weeks. This boosts flowering and fruiting. If you’re using chemical fertilizers, choose one high in phosphorus and potassium for better fruit development.
7. Support and Prune
As your plants grow, they might need some support to stay upright — especially when they start bearing fruit. Use small stakes or sticks for support. Also, pinch off any weak or crowded branches to allow better airflow and sunlight.
8. Watch for Pests
Capsicum plants are usually hardy, but they can be affected by aphids or whiteflies. Check the leaves regularly. If you notice pests, spray the plants with neem oil mixed with water once a week until they’re gone.

9. Harvest at the Right Time
Harvest when the fruits are firm and brightly colored.
Your capsicum will be ready to harvest about 60–90 days after transplanting. You can pick them when they’re green for a milder taste or wait until they turn red or yellow for a sweeter flavor. Use scissors or a knife to cut them off gently — pulling them might damage the plant.
Final Tips for Success
- Rotate your plants every season to prevent soil diseases.
- Keep the area weed-free to reduce competition for nutrients.
- Mulch around the base to retain moisture and control weeds.
Also read Organic Farming: A Return to Nature for Healthy Soil and Safer Food